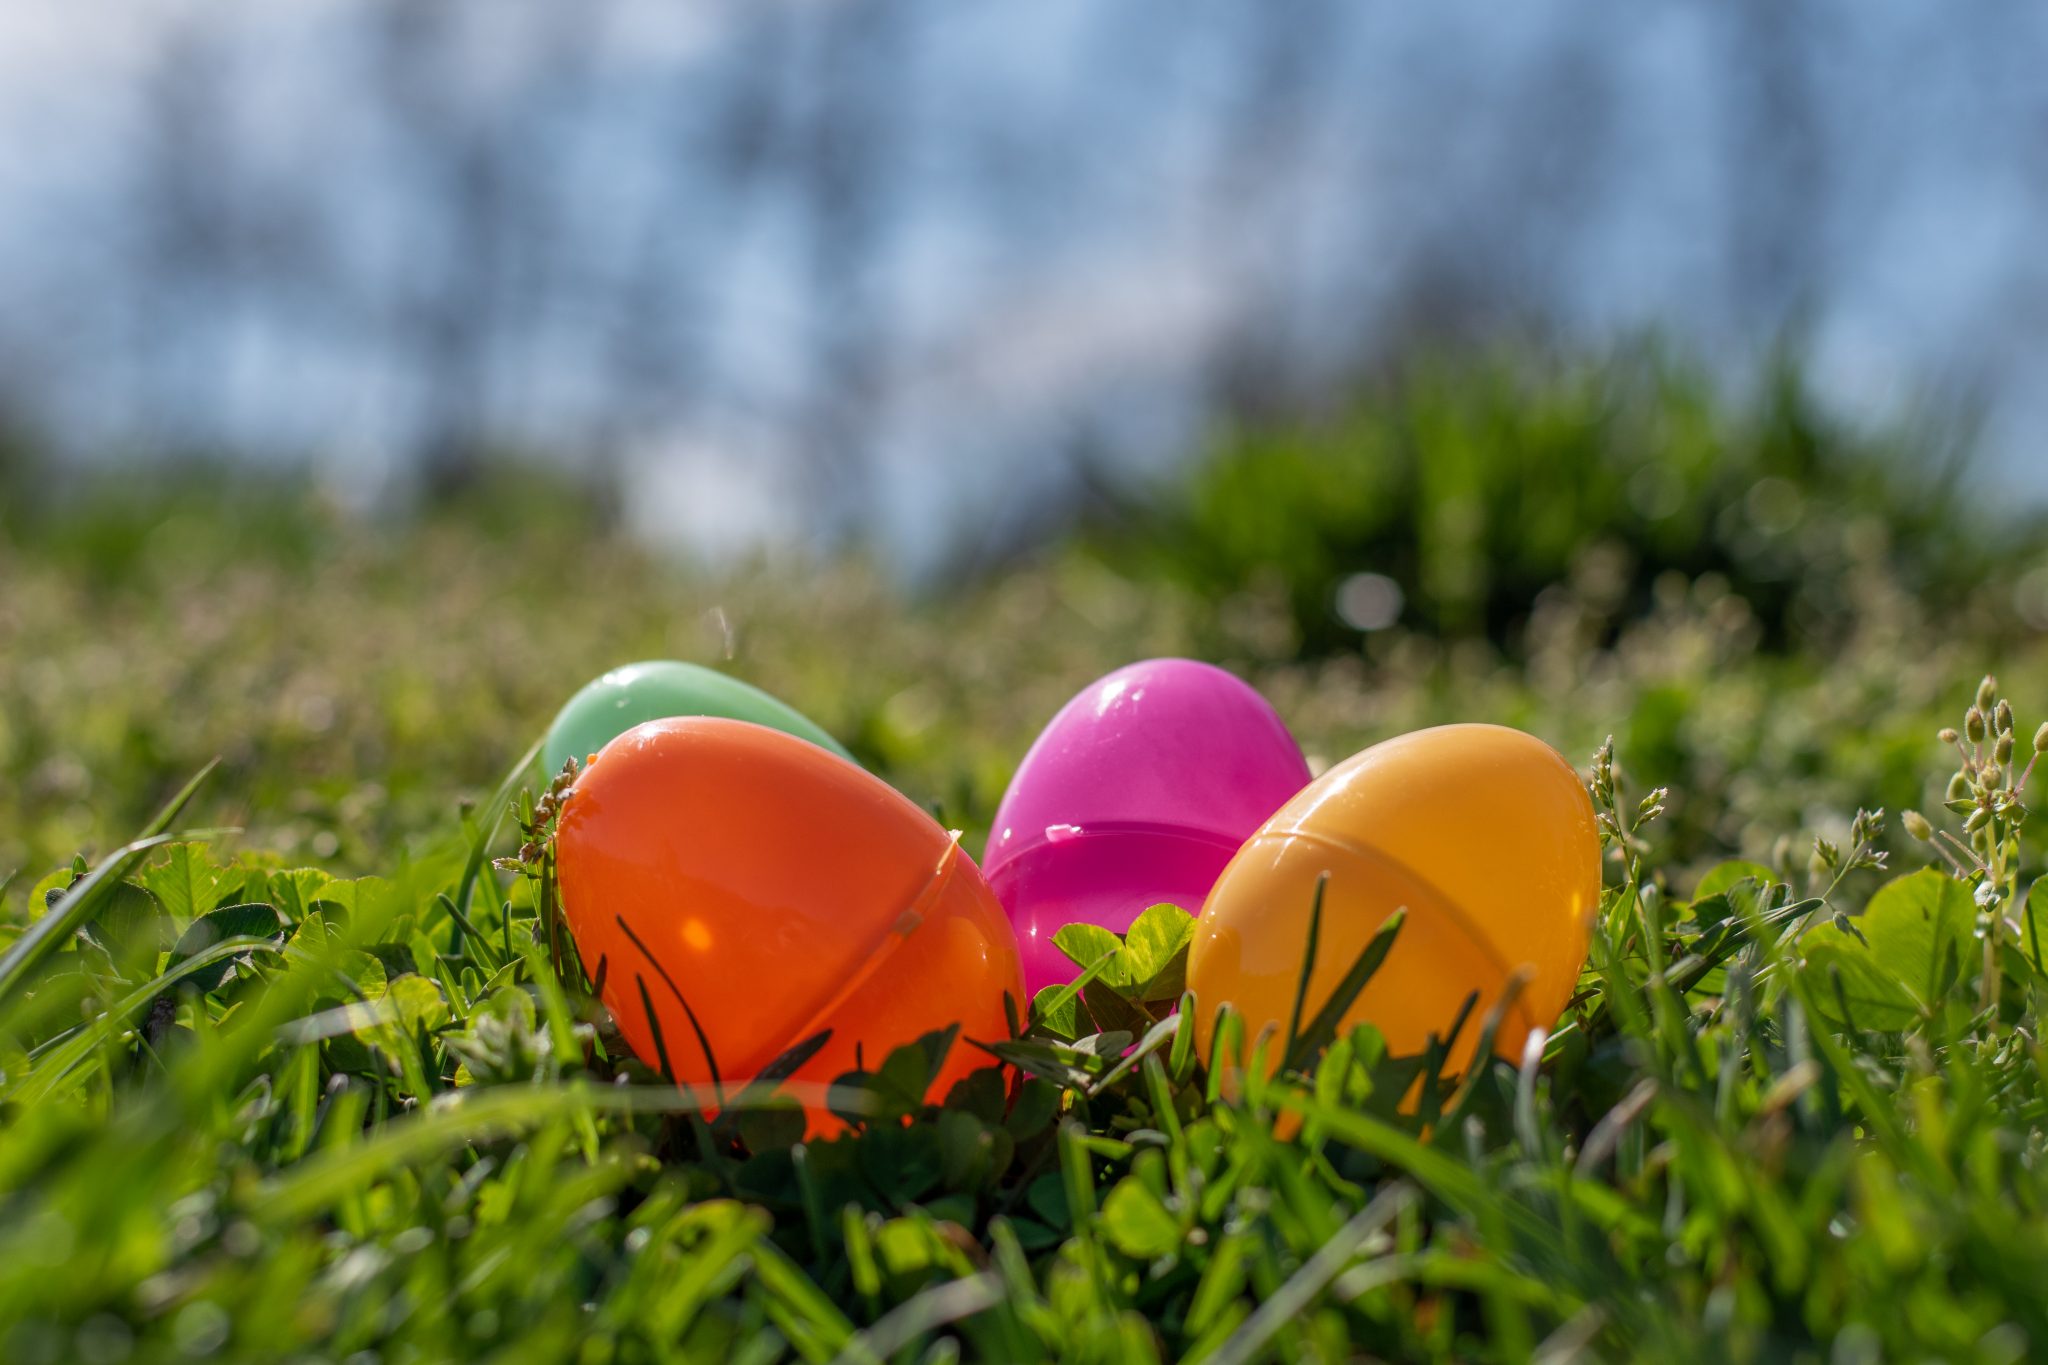
My favorite Easter tradition growing up was hitting my family over the head with eggs.
The beloved tradition dates back to the 13th century. Following a visit to China, the infamous Venetian explorer Marco Polo found colorful painted eggs filled with scented powders. He brought them to the royal houses of Europe as gifts, and the eggs eventually made their way to Latin America in the mid-1800s.
Now, the tradition’s name varies by region: “cascarón,” “huevos chimbos” or “huevos de pascua,” for example. Regardless of the name and where it comes from, these painted eggs filled with confetti are fun and easy to make. Here’s how you can make them with your friends and family this Easter.
Supplies:
- Eggshells
- Newspapers or tarp
- Filling, which can be either confetti or glitter or your choice
- A bowl of water
- Liquid glue
- Tissue paper, more newspaper or paper streamers
- Painting supplies, such as paint, paint markers or brushes
- An optional fan or blow dryer
The Eggs
The first and most obvious ingredient is eggshells. My family and I usually begin saving the shells of eggs we use in early March, so by Easter we have a large enough collection of eggs. So far this year, we have 33.
The hardest part of collecting eggshells is keeping them intact. I recommend carefully cracking the shell from the top and leaving a hole just big enough for the egg to come out when cooking, which will make creating the confetti eggs easier. You can store the eggs back in the carton they came in or in a cute Easter basket. What’s most important is that they are placed somewhere safe where they won’t break.
[Celebrate peak cherry blossom bloom with these fun DC events]
Prepping the eggs
The next few steps can get messy, so make sure you lay down a tarp or some newspapers and wear clothes you don’t mind getting dirty.
The first step is filling the eggs. Typically, one fills the eggs with confetti and glitter, but you can also use items such as candy or money.
Next, seal the shell so nothing falls out. You’ll need thin paper, such as tissue paper, newspapers or paper streamers. Whichever you use, cut a large enough piece to completely cover the hole. Mix your bowl of water and liquid glue together, dip your paper into the bowl and seal the egg. You can do a few layers of this to ensure it is completely secured.
[Diamondback Day Trip: Uncovering Harpers Ferry]
Decorating
Once the eggs are sealed and dry, you can start painting.
Utilize your creativity while you paint. You can sprinkle some leftover glitter onto the egg while the paint is still wet or use some construction paper and cotton balls to make Easter bunnies. You can also use paint markers to make intricate designs or patterns. Some people also decorate them with various colors of tissue paper or paper streamers.
I recommend using acrylic paint because it dries faster, but you could also use a fan or a blow dryer to speed up the process.
Let the games begin
Now that your eggs are ready, it’s time for the best part. Take your carton or basket of eggs and gather everyone outside. It’s time to get cracking.
Grab as many eggs as you can, stash them in your pocket and make alliances. It’s now no man’s land. Chase your friends and family around outside and egg them.
Pro tip: push your thumb through where you sealed the egg and break it over someone’s head.